Jet Ride Training Plan Taster
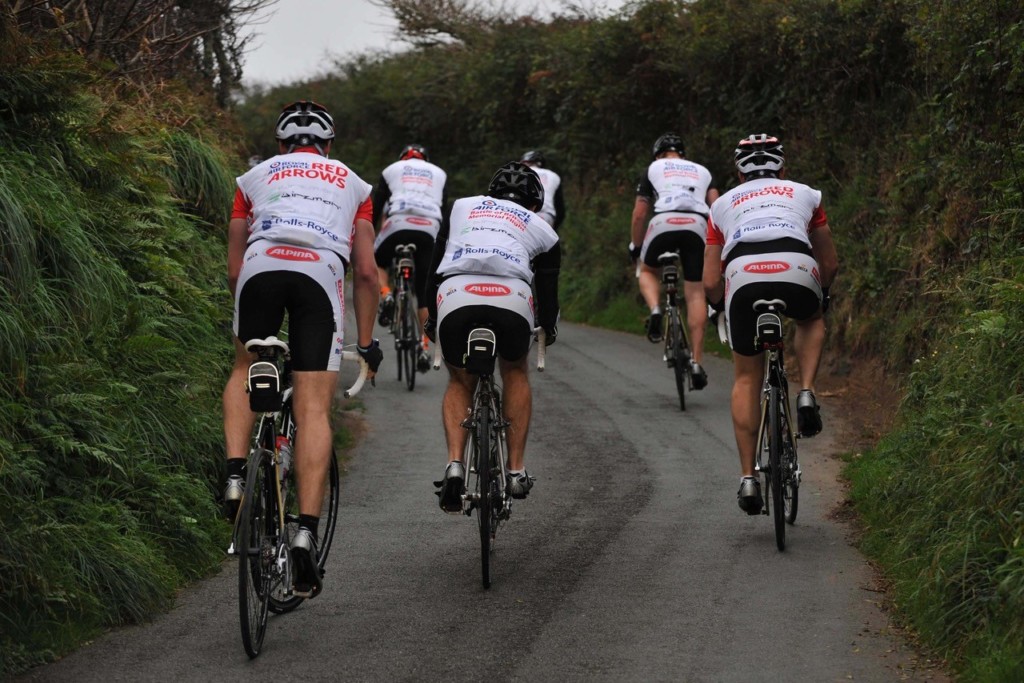
The full 16 week planners will be aimed at 2 groups of cyclist. Beginners for who this might be their first organised event on a bike and Intermediates who are able to ride for more than 2 hours at the start of the plan.
Each plan will be made up from a series of instructional paragraphs detailing how the plan will work and what the riders will need to understand to get the most out of the sessions laid out ahead of them over the 16 week period. The majority of the detail is within these paragraphs and that allows me to keep the detail in the weekly plans fairly low and reduce any possibility for misunderstanding of the actual training as far as possible. It is the pattern I follow for my paying athletes and is something I have done ever since starting coaching 10 years ago.
Taster Blocks which I think will set the scene well below:
Measurement of effort
Why do we measure and record what we do?
Being able to measure your efforts is vital for any type of sports training and allows you to train accurately and consistently. It prevents over training, and under training, and also allows you to see improvements or identify problems over time. Accuracy is king, especially as a large majority of us don’t really have huge amounts of time to train and we need to make sure we are maximising the benefit from our limited time. Seeing small improvements as you go a long is vital for motivation and also lets you know you’re getting it right.
The technology within cycling is so advanced now you can measure just about anything you want to but this plan and your success on the 22nd of September isn’t dependent on £1000’s spent on power meters etc. As long as you can measure your time out on the bike and your distance then that’s good enough. There are a lot of free apps for both iPhone and Android that will log all of your training for you too. Garmin Connect, if you have a Garmin watch or bike computer, Strava, and Map my Ride are the most popular and as such are the most refined and reliable too.
If you have a heart rate monitor or even a power meter, I will add guidance within the planned sessions for those but I will also give guidance on perceived effort via something called The Borg Scale. This is as simple as gauging how hard you think you are working on a scale of 1-10. 1 is in bed on a Sunday morning enjoying a nice fresh cup of tea and 10 is running away from an angry Grizzly bear, up a steep hill.
It is advisable to track your training as its one way to see real improvements by comparing your average speed and distances over the duration of the plan and also for a bit of morale support from friends using the same apps or even this same plan. I use Strava and even on the free, non-premium, version I get everything I need from a tracker app. Seeing small improvements as you go a long is vital for motivation and also lets you know you’re getting it right. If you don’t want anyone else to see what you’re doing Strava is easily set to keep your rides locked down and for your eyes only.
Warm up and Cool Down with Session Make up Description
Why bother doing a warm up? Getting your body and mind ready for a hard session is another vital aspect to getting the most from your training. Many people neglect it due to time constraints but I can’t stress enough just how important it is to get this right. A good, or poor, warm up can set the scene for the entire session ahead and contributes to its success or failure. Remember also the warm up period and effort helps to prepare you mentally and to get you focussed on the work ahead.
To give an example of how important a warm up is I use the Wattbike, super high tech stationary training bike, for testing my paid customers performance and usually employ a 3 minute maximum effort cycle test. The Wattbike advised warm up also utilised by British Cycling is 20 minutes long. Yes, 20 minutes preparation for a 3 minute test!
Warm up should be a progressive 10 minute period gradually building through the effort scale ,heart rate or power zones until you get to minute 8 when you should be just into Z4 Power or Heart Rate or riding at 7-7.5/10 from the Borg effort scale. Ride 2 minutes in that zone or effort level before blasting out 3x 6 second max sprints separated by 1 minute resting. The last 2-3 minutes should then be used to spin a light gear and adjust anything prior to starting the main set. Use this kind of warm for every session. Make it a habit.
Each session will be made up from a series of intervals and I will write them in the same manner. Most of it will be very brief but with detail, added as and when required. Once you get the hang of the sessions you will realize that they follow a pattern and you will soon get the hang of the meanings etc. I hope ……?
A typical session will look like this:
WU 10-15 (Warm up as per instructions above)
2-3 Spin off (adjust clothes, drink, quick limber up etc.)
4x 8 minutes at Z4 (Borg Scale 7/10) with 5 min rest. 8 minute efforts should be at @ 90rpm.
So in plain that’s (8 mins at Z4 followed by a 5-minute light spin recovery x4 repeats overall. 8+5,8+5,8+5,8 then the last rest period becomes the cool down)
90 rpm Cadence guide is for the working blocks only.
Cool Down with an easy pedalling period of 5-10 minutes.
For every indoor session I would advise you have at least 1x 500ml bottle of either hydro tab or a bottle of proper energy drink like SIS GO or HIGH5 4:1 on hand. For the longer Z4 sessions that we will progress to in the later weeks 2x 500ml energy drink should be on hand.
For outdoor sessions I would advise 2x 750ml bottles of fluids. Doesn’t have to be 100% energy drink but 1x 750 should be at least.
Sample Training Week
Please note that if you do not have access t a turbo trainer, gym bike or any other form of stationary bike all of the sessions can be carried out on the road. Try to select quiet roads with as few junctions as possible to reduce any disruption to the intervals.
Monday – Rest Day with no cycling planned. Light stretching or foam rolling only.
Tuesday – Bike Interval Session. (Best done on Turbo Trainer or Stationary Gym Bike)
Warm up as described in the instructional paragraphs. Drink required for main session.
Main set is 3x 7 minutes @ Zone 4 HR / Power ( 7/10 Borg Scale) @90 rpm. 5 minutes rest / light recovery spinning between each 7 minute working block. Go into a cool down after the 3rd 7 minute block and don’t get off the bike until your heart rate has recovered to below 125 bpm or 5 minutes minimum.
Wednesday – Recovery paced ride 45 minutes @ Zone 2 HR / Power (2.5/10 Borg Scale). @ 90rpm.
Thursday – Rest Day with no cycling planned. Light stretching or foam rolling only.
Friday – Tempo Session. Can be carried out on the road or on a stationary trainer.
Warm up as described in the instructional paragraphs. Drink required for main session.
Main set is 1 hour solid within Zone 3 HR / Power (6-7/10 Borg Scale) @90 rpm. A good guide of the effort here is to not allow yourself to freewheel at all. You’ll be surprised how much you do now without thinking about it and how much harder it makes a ride if you aren’t allowed.
Cool down with 5 minutes minimum of slow easy pedalling until your heart rate has recovered below 125 before climbing off.
Saturday – Rest Day with no cycling planned. Light stretching or foam rolling only.
Sunday – Endurance Ride – Best done out on the roads but can be ridden indoors if the weather is really that bad.
Aim to ride 2 hours to 2.5 hours at a manageable pace without “blowing up” and grinding to a halt. Overall effort should be no higher than Zone 3 HR or power and less than 5/10 overall on the Borg Scale of effort. 2x drinks bottles are a must.


